This post was contributed by Georgina of Craftulate.
Make a DIY Toy Traffic Light for Play & Learning!
If you’re a regular reader of Craftulate you’ll have noticed that we’ve been doing a lot of transportation-themed projects recently. When I’m out in the car with my son we often talk about “red light stop, green light go” so I decided to make this DIY toy traffic light for him to play and learn with at home.

How I Made My DIY Toy Traffic Light
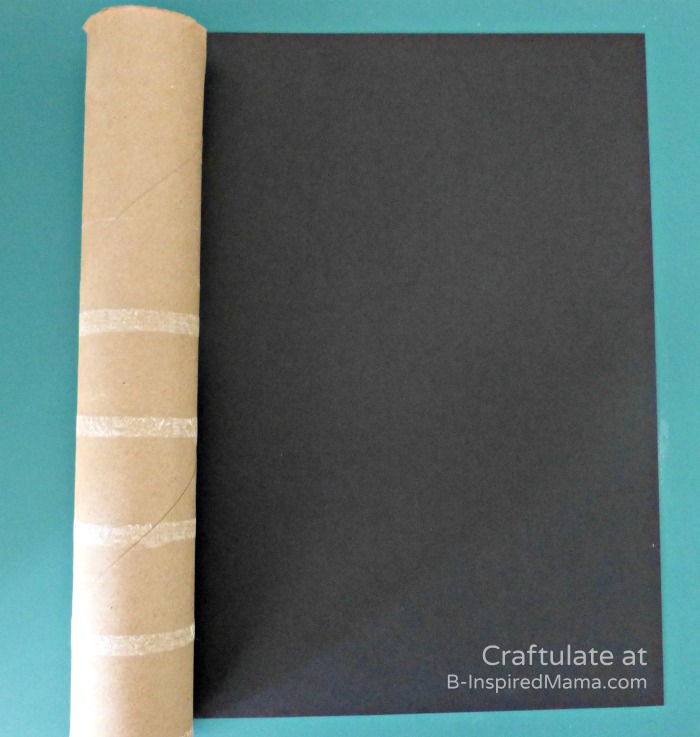
I started by wrapping a cardboard paper tube in black cardstock.
Then I folded another piece of black cardstock around the tube to form a four sided box shape. I found that the width of each side that wraps around the tube needed to be approx 1.75″. The total width should be 7.5″ (for the four sides plus half inch overlap) and the length should be 8″.

Before joining the box together I cut three circles out from one side of the box. The circles should be approx 1.25″ diameter. Keep one of the circles as a template for later.
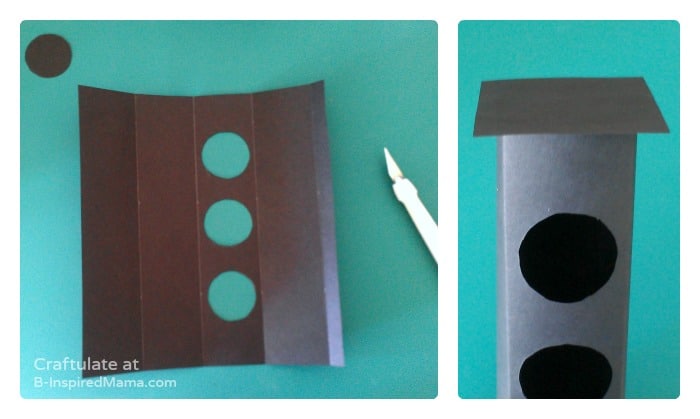
I glued down the overlap to close the box.
Now back to the cardboard tube. I traced around one end of the tube and cut out a circle of black cardstock slightly larger than the circumference of the tube. I poked a hole in the center of the circle and attached some thread with tape.
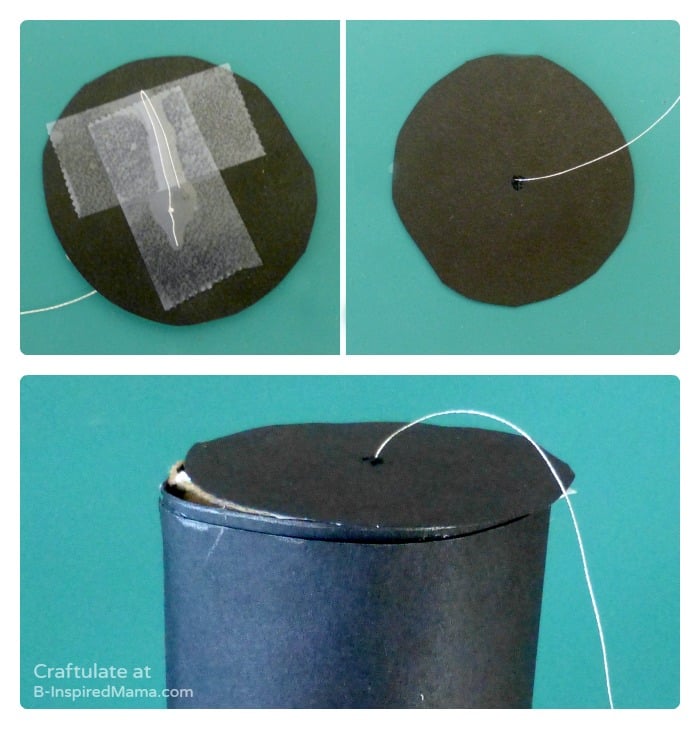
I glued this to one end of the tube with the long end of the thread at the top. Once the glue had dried I trimmed the edges to fit.
Next I needed to decide on the traffic light sequence. Here are the sequences for the US and UK, feel free to add the sequence for anywhere else in the comments for other users.
US: Red, Green, Yellow, Red
UK: Red, Red & Yellow (sometimes called Amber), Green, Yellow, Red
As we now live in the US, that was the version I decided to make. Nothing to do with it being the simpler sequence!
I used the circle template saved from earlier to cut out three squares of colored metallic paper, just larger than the circle.

By lining up the holes from the box over the tube, I glued the colored paper at the appropriate levels, winding down the tube.
Then I cut out a square of black card 2.5″ x 2.5″ and cut a small hole in the center. I slid the tube into the box and poked the thread through the new square of card.
I carefully glued the square to the box to form the top of the traffic light, and made sure that the tube could still rotate and the thread was still poking out the top. After the glue had dried I trimmed the edges of the top and wrapped the loose thread around a piece of card. I taped the end of the thread to the card, ensuring that the tube could still turn freely.
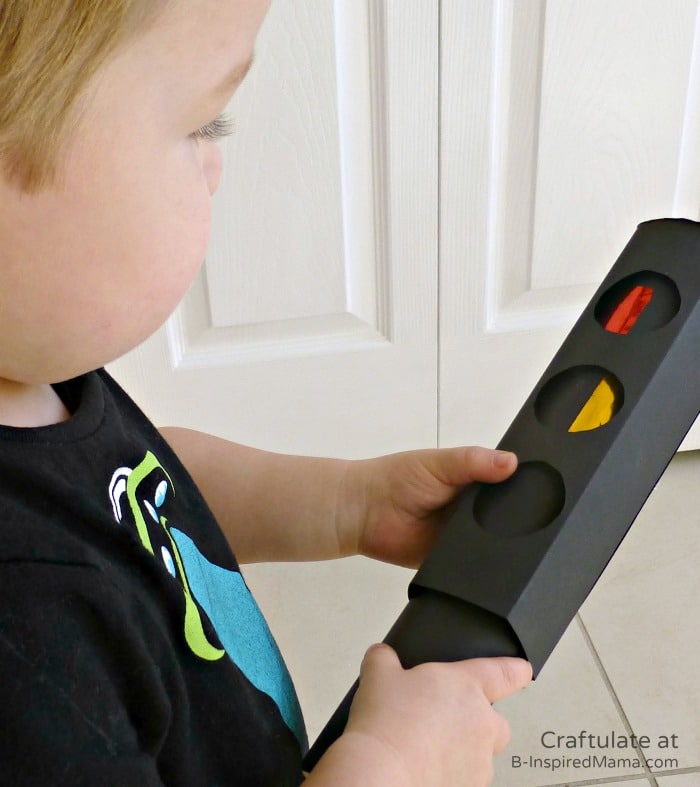
Finished!
Georgina is the founder and editor of Craftulate, writing about crafts and activities suitable for toddlers and young children. She also loves papercraft, sewing, and cooking.
My kids would LOVE this DIY Toy Traffic Light! I can see them making elaborate city or racetrack scenes for imaginative play with it. And I would love that it would present so many great opportunities for learning, too, like color recognition and sequencing. Thanks, George!
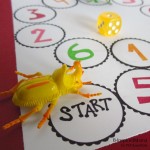
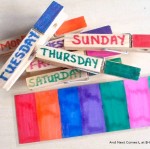
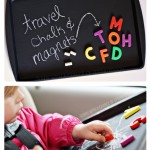
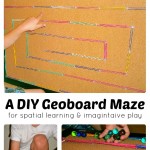
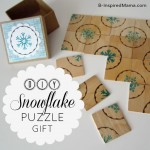
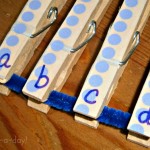
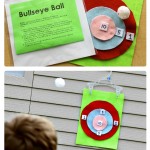
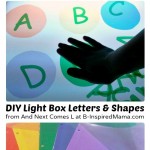
More DIY Toy Ideas


If you like this, get lots more by signing up to get B-Inspired Weekly right in your inbox. And follow B-Inspired Mama on Facebook, Twitter, Google+, and Pinterest!
I love to share at and find inspiration from these link ups!
Jill says
This is a great craft to expand young learners knowledge of traffic safety. This is also a very unique take on a traffic light. Simple and effective. Thank you for sharing and for linking up this week to the Thoughtful Spot Weekly Blog Hop.
Katie @ Gift of Curiosity says
This is so cute! And thanks for bringing back a memory from 7th grade when I lived in England and marveled at how the traffic light sequence was different than in the US. 🙂
Clarissa Hooper says
Oh my goodness, this is such a great idea! I will be making this soon 🙂
Carla says
This is such an awesome idea–my kids love to play Red Light Green Light, and would think a “real” stoplight is the coolest! I’m pinning this to my (CarlaINHouston) Awesome Preschool board–thanks for sharing!!
Shannon says
This is a great idea! My son will love it! However, I am confused about the last part, where the black square goes and where exactly the thread is and what the purpose of the thread is?
Laura M says
Cool idea! I like the twisting, turning aspect!