

Disclosure: This blog post, contributed by Crystal of The Science Kiddo, contains affiliate links. As an affiliate and Amazon Associate, I earn from qualifying purchases at no additional cost to you. Please read my full disclosure policy for more information.
Many of our favorite kids activities are those that combine the magic of science with the flare and creativity of art. And marker chromatography is an easy science experiment that lets kids create beautiful artwork they can displayed as-is or use to make other colorful craft.
Explore Art & Science with Marker Chromatography for Kids!
This marker chromatography experiment is so quick and easy. Plus, it requires minimal materials and therefore minimal cleanup, yet it keeps the kids engaged and learning! Let’s check it out…

Marker Chromatography Science Experiment Supplies
The best thing about this kids science experiment is that you probably have everything you need right around the house. Here is all you need:
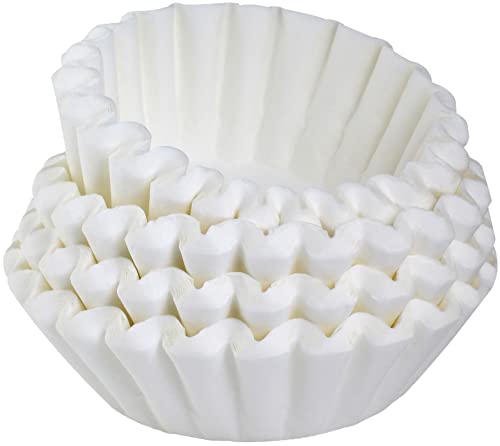
- white coffee filters
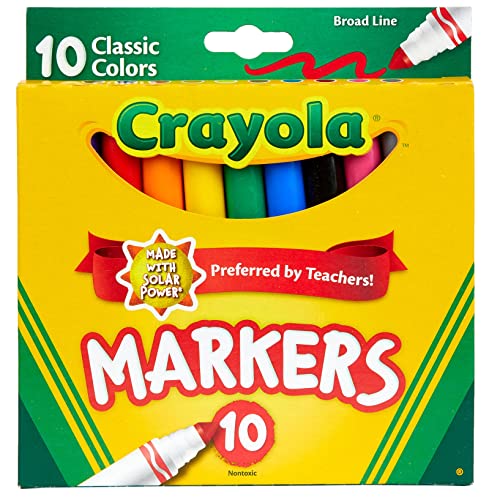
- washable markers (like Crayola markers; not Sharpie or permanent markers)
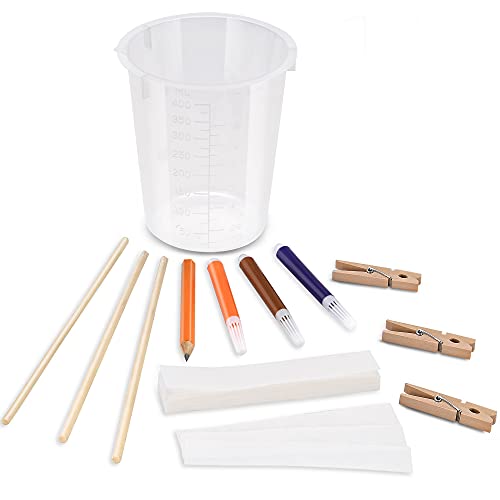
- wooden craft stick (or a sturdy ruler)
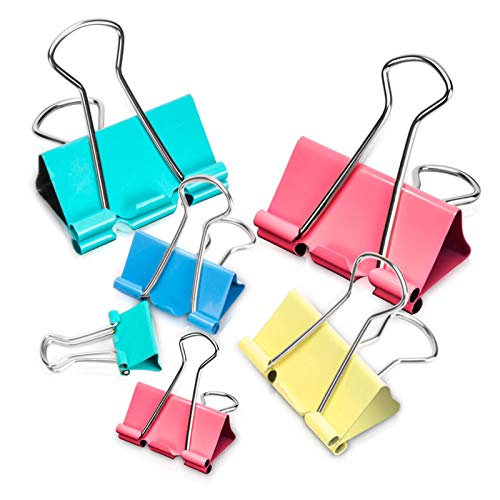
- binder clip (or strong chip bag clip, utility clip, or even a clothespin)
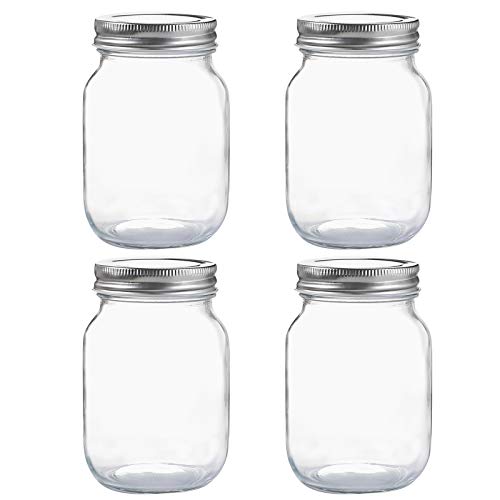
- mason jar with an 1-2 inches of water inside (or a tall clear plastic cup)
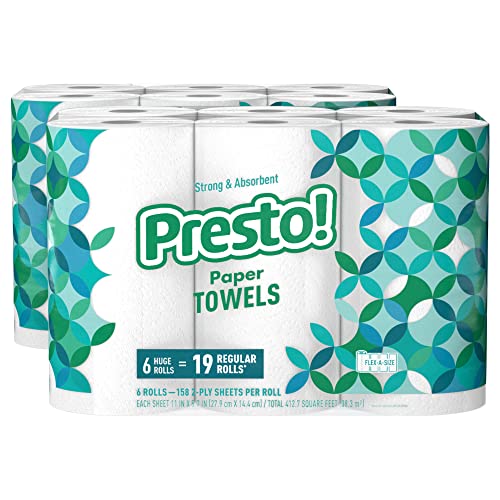
- paper towel
Now, if you can get your hands on some sheets or strips of chromatography paper (also known as filter paper), you can obviously use that. But everyday coffee filters work, too.
Marker Chromatography Experiment Instructions
First, have your child use colored marker to draw a design on a coffee filter (or chromatography paper). Using dark, bright colors will yield the best results. The design can be circular or asymmetrical, whatever you feel inspired to do!

Fold the coffee filter in half and then in half again and again until it is a skinny triangle, narrow enough to fit inside your jar. Then use the binder clip to clip the top (straight edge) of the skinny triangle coffee filter onto the center of the craft stick.

Place the pointed end of the coffee filter triangle into the jar of water and let the craft stick rest across the top of the jar to hold it in place. Make sure the tip of the coffee filter triangle is touching the water and add a small amount of water, if necessary.
Have your child observe how the paper draws water up from the bottom of the jar. They will start to see the colors separate and spread!
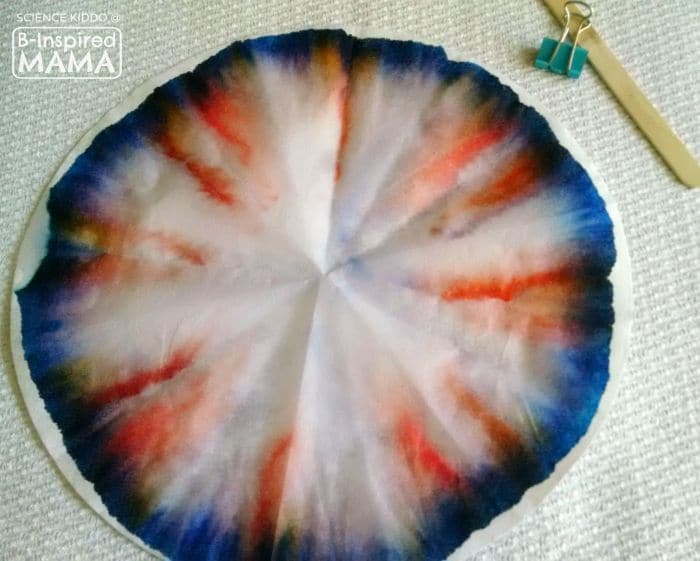
When the water line reaches the top of the paper, pull it out, unfold it, and lay it on a paper towel to dry.
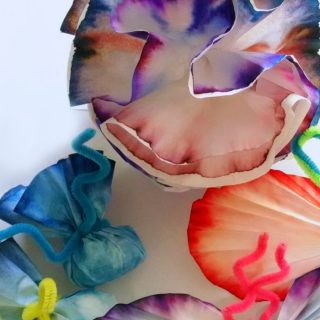
How to Make Chromatography Art Flowers & Butterflies
After the colorful coffee filter is completely dry, you can display your chromatography art as is or use it to make a cute craft, like colorful chromatography flowers or butterflies.
You only need one crafts supply to turn your chromatography coffee filters into flowers and butterflies: pipe cleaners!
To Make a Chromatography Butterfly:
Fold your coffee filter accordion style, then twist a pipe cleaner around the middle before unfolding the wings. Trim and bend the ends of the pipe cleaner into cute little butterfly antennae.
To Make a Chromatography Flower:
Place 2-3 coffee filters on top of one another, then fold them in half and then in half again. Pinch the pointed end and wrap it tightly with the end of a pipe cleaner. Then separate and unfold the coffee filters a bit to form the flower.
The Science Behind Marker Chromatography
According to Britannica Kids, paper chromatography is a “technique for separating the components, or solutes, of a mixture on the basis of the relative amounts of each solute distributed between a moving fluid stream, called the mobile phase, and a contiguous stationary phase. “ In other words, it is a way to separate parts of a mixture based on their rate of movement.
So, for our marker chromatography experiment, our marker ink is a mixture of pigments. Even though it looks like just one color, it actually has many different color pigments, some heavier and some lighter, that travel at different speeds as the water (our solvent) moves them up through the paper. The heavier pigments will separate out first and move more slowly, while the lighter pigments keep moving faster up the paper, creating the tie-dyed or washed out effect. Try to count how many different colors you see on your final product!
Paper chromatography is used every day by industrial and forensic scientists in professional laboratories. This marker chromatography experiment is an easy and safe way to play scientist and artist with your child!
Marker Chromatography Extensions on Learning
- Compare Rates of Absorption — Use different types of filter paper to experiment with different rates of absorption or flow.
- Compare Different Solvents — Set up separate chromatography experiments, one with water like above and the other using isopropyl alcohol instead of water. Try each one with water-based markers. Then try each one with permanent markers instead.
- Explore Color Theory — Use only markers in primary colors (red, yellow, and blue) to see how the colors mix to make secondary colors (orange, green, purple).
Full Marker Chromatography Experiment
Tools
- 16 ounce mason jar (or tall clear plastic cup, with 1-2 inches of water inside)
- binder clip (or strong bag clip, utility clip, or clothespin)
- wooden craft stick (or sturdy ruler)
Steps
- Have child use washable markers to draw a design on white coffee filter. (Dark, bright colors work best, but any design works.)
- Fold coffee filter in half and then in half again and again until it is a skinny triangle, narrow enough to fit inside the jar. Use binder clip to clip the top (straight edge) of the coffee filter triangle onto the center of the craft stick.
- Place pointed end of coffee filter triangle into the jar of water and let the craft stick rest across the top of the jar to hold it in place. Make sure the tip of coffee filter triangle is touching the water. Add water, if necessary.
- Have child observe how the colors separate and spread as the water travels up through the coffee filter triangle.
- When the water line reaches the top of the coffee filter triangle, pull it out, unfold it, and lay it flat on paper towels to dry. After completely dry, display marker chromatography art as is or use to make crafts.
Notes
To Make a Chromatography Butterfly:
Fold your coffee filter accordion style, then twist a pipe cleaner around the middle before unfolding the wings. Trim and bend the ends of the pipe cleaner into cute little butterfly antennae.To Make a Chromatography Flower:
Place 2-3 coffee filters on top of one another, then fold them in half and then in half again. Pinch the pointed end and wrap it tightly with the end of a pipe cleaner. Then separate and unfold the coffee filters a bit to form the flower.The Science Behind Marker Chromatography:
According to Britannica Kids, paper chromatography is a “technique for separating the components, or solutes, of a mixture on the basis of the relative amounts of each solute distributed between a moving fluid stream, called the mobile phase, and a contiguous stationary phase. ” In other words, it is a way to separate parts of a mixture based on their rate of movement. So, for our marker chromatography experiment, our marker ink is a mixture of pigments. Even though it looks like just one color, it actually has many different color pigments, some heavier and some lighter, that travel at different speeds as the water (our solvent) moves them up through the paper. The heavier pigments will separate out first and move more slowly, while the lighter pigments keep moving faster up the paper, creating the tie-dyed or washed out effect. Try to count how many different colors you see on your final product! Paper chromatography is used every day by industrial and forensic scientists in professional laboratories. This marker chromatography experiment is an easy and safe way to play scientist and artist with your child!Marker Chromatography Extensions on Learning:
Compare Rates of Absorption — Use different types of filter paper to experiment with different rates of absorption or flow. Compare Different Solvents — Set up separate chromatography experiments, one with water like above and the other using isopropyl alcohol instead of water. Try each one with water-based markers. Then try each one with permanent markers instead. Explore Color Theory — Use only markers in primary colors (red, yellow, and blue) to see how the colors mix to make secondary colors (orange, green, purple).Marker Chromatography Supplies on Amazon:
Get everything you need to do your own marker chromatography experiment or make your own chromatography art right on Amazon…
4 Cup Basket Coffee FiltersCrayola Broad Line MarkersGlass Regular Mouth Mason Jars, 16 ozSTEM Basics: Craft Sticks100PCS Binder Clips Assorted SizesPresto! Flex-a-Size Paper Towels

Kids Chromatography Kits & Science Sets on Amazon:
Or, if you’re not up for gathering all of the supplies yourself, grab one of these paper chromatography science kits. Or another kids science experiment sets.
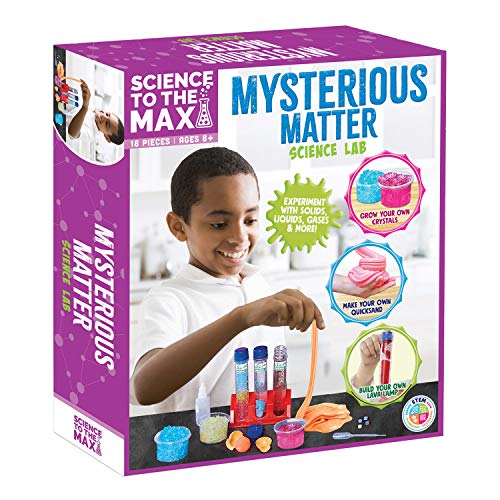
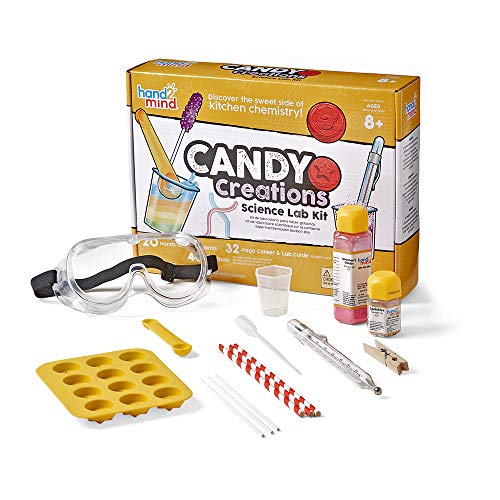
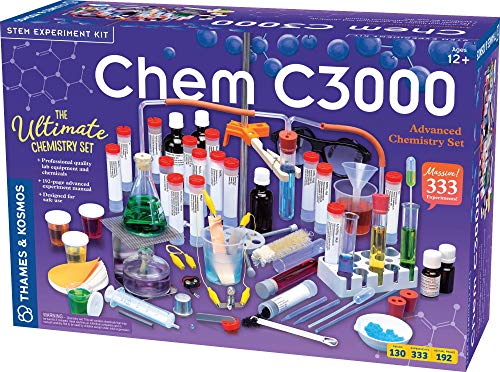
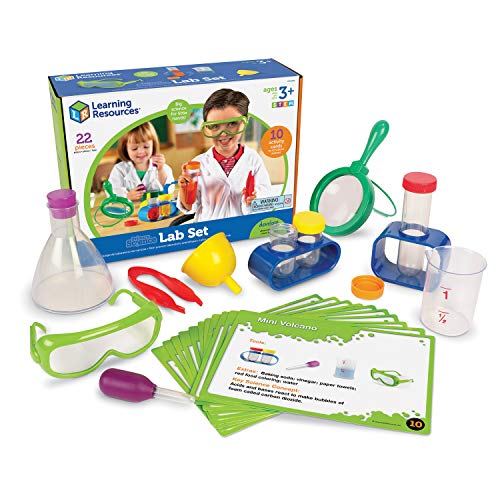
Yellow Scope The Art and Science of Color Paper Chromatography Science KitPaper Chromatography Experiment Kit With Lab InstructionsMysterious Matter Science Kit for Kids Age 8 and Uphand2mind Candy Creations Science Lab KitThames & Kosmos Chem C3000 (V 2.0) Chemistry SetLearning Resources Primary Science Lab Activity SetEinstein Box Science Experiment Kit For Kids

Plus, find more kids science experiment sets in B-Inspired Mama’s Amazon Shop: Fun Finds for STEM Learning
Like this Kids Marker Chromatography Activity? Save It & Share It!

Don’t forget to save this cool chromatography art project to come back to later. And share it with friends! Simply use the buttons at the top or bottom of this post. Or, click here: Share on Facebook | Tweet It | Pin It | Email to a Friend
More Kids Science Experiments from The Science Kiddo:
More Science Ideas from B-Inspired Mama:
- 5 Fun Color Mixing Experiments for Preschool Kids
- Snowstorm in a Jar Science Experiment
- 28 Fun Valentine’s Day Science Experiments
Kylie says
How long do you leave it in the water in order for the color to spread all the way around the edge?
Krissy of B-Inspired Mama says
It varies with the specific coffee filter you use and the type of markers. But it shouldn’t take more than a few minutes.